I don’t teach, I have a finite amount of patience (usually measured in milliseconds) and I have the unique ability to only explain things one way, the way I understand them. If someone doesn’t understand something the way I express it, I quickly run out of options. When it comes to taking pictures of fireworks, the internet was boiling over on the photography blogs last week about how to do it correctly. If you want other opinions, there’s plenty out there. Here’s how I did it on Saturday night.
The Fourth of July is my wife’s favorite holiday and we usually spend one of the evenings at her aunt and uncle's home located on the side of a hill in Reading. The reason I mention the hill is because the fireworks display is far enough away so that the aerial show is confined to one location in the sky. If you are seated towards the front of a fireworks display, the performance dominates the entire sky which makes capturing the explosions without an ultra wide lens impossible, also your camera would be shooting almost straight up, so it’s hard to make any adjustments.
A tripod is a necessity, and a remote trigger is helpful. The camera’s shutter will be open for between 3-15 seconds, much longer than any human can hold a camera steady without shaking. This is why there are so many blurry images on Facebook, Twitter, Google plus, etc. of fireworks.
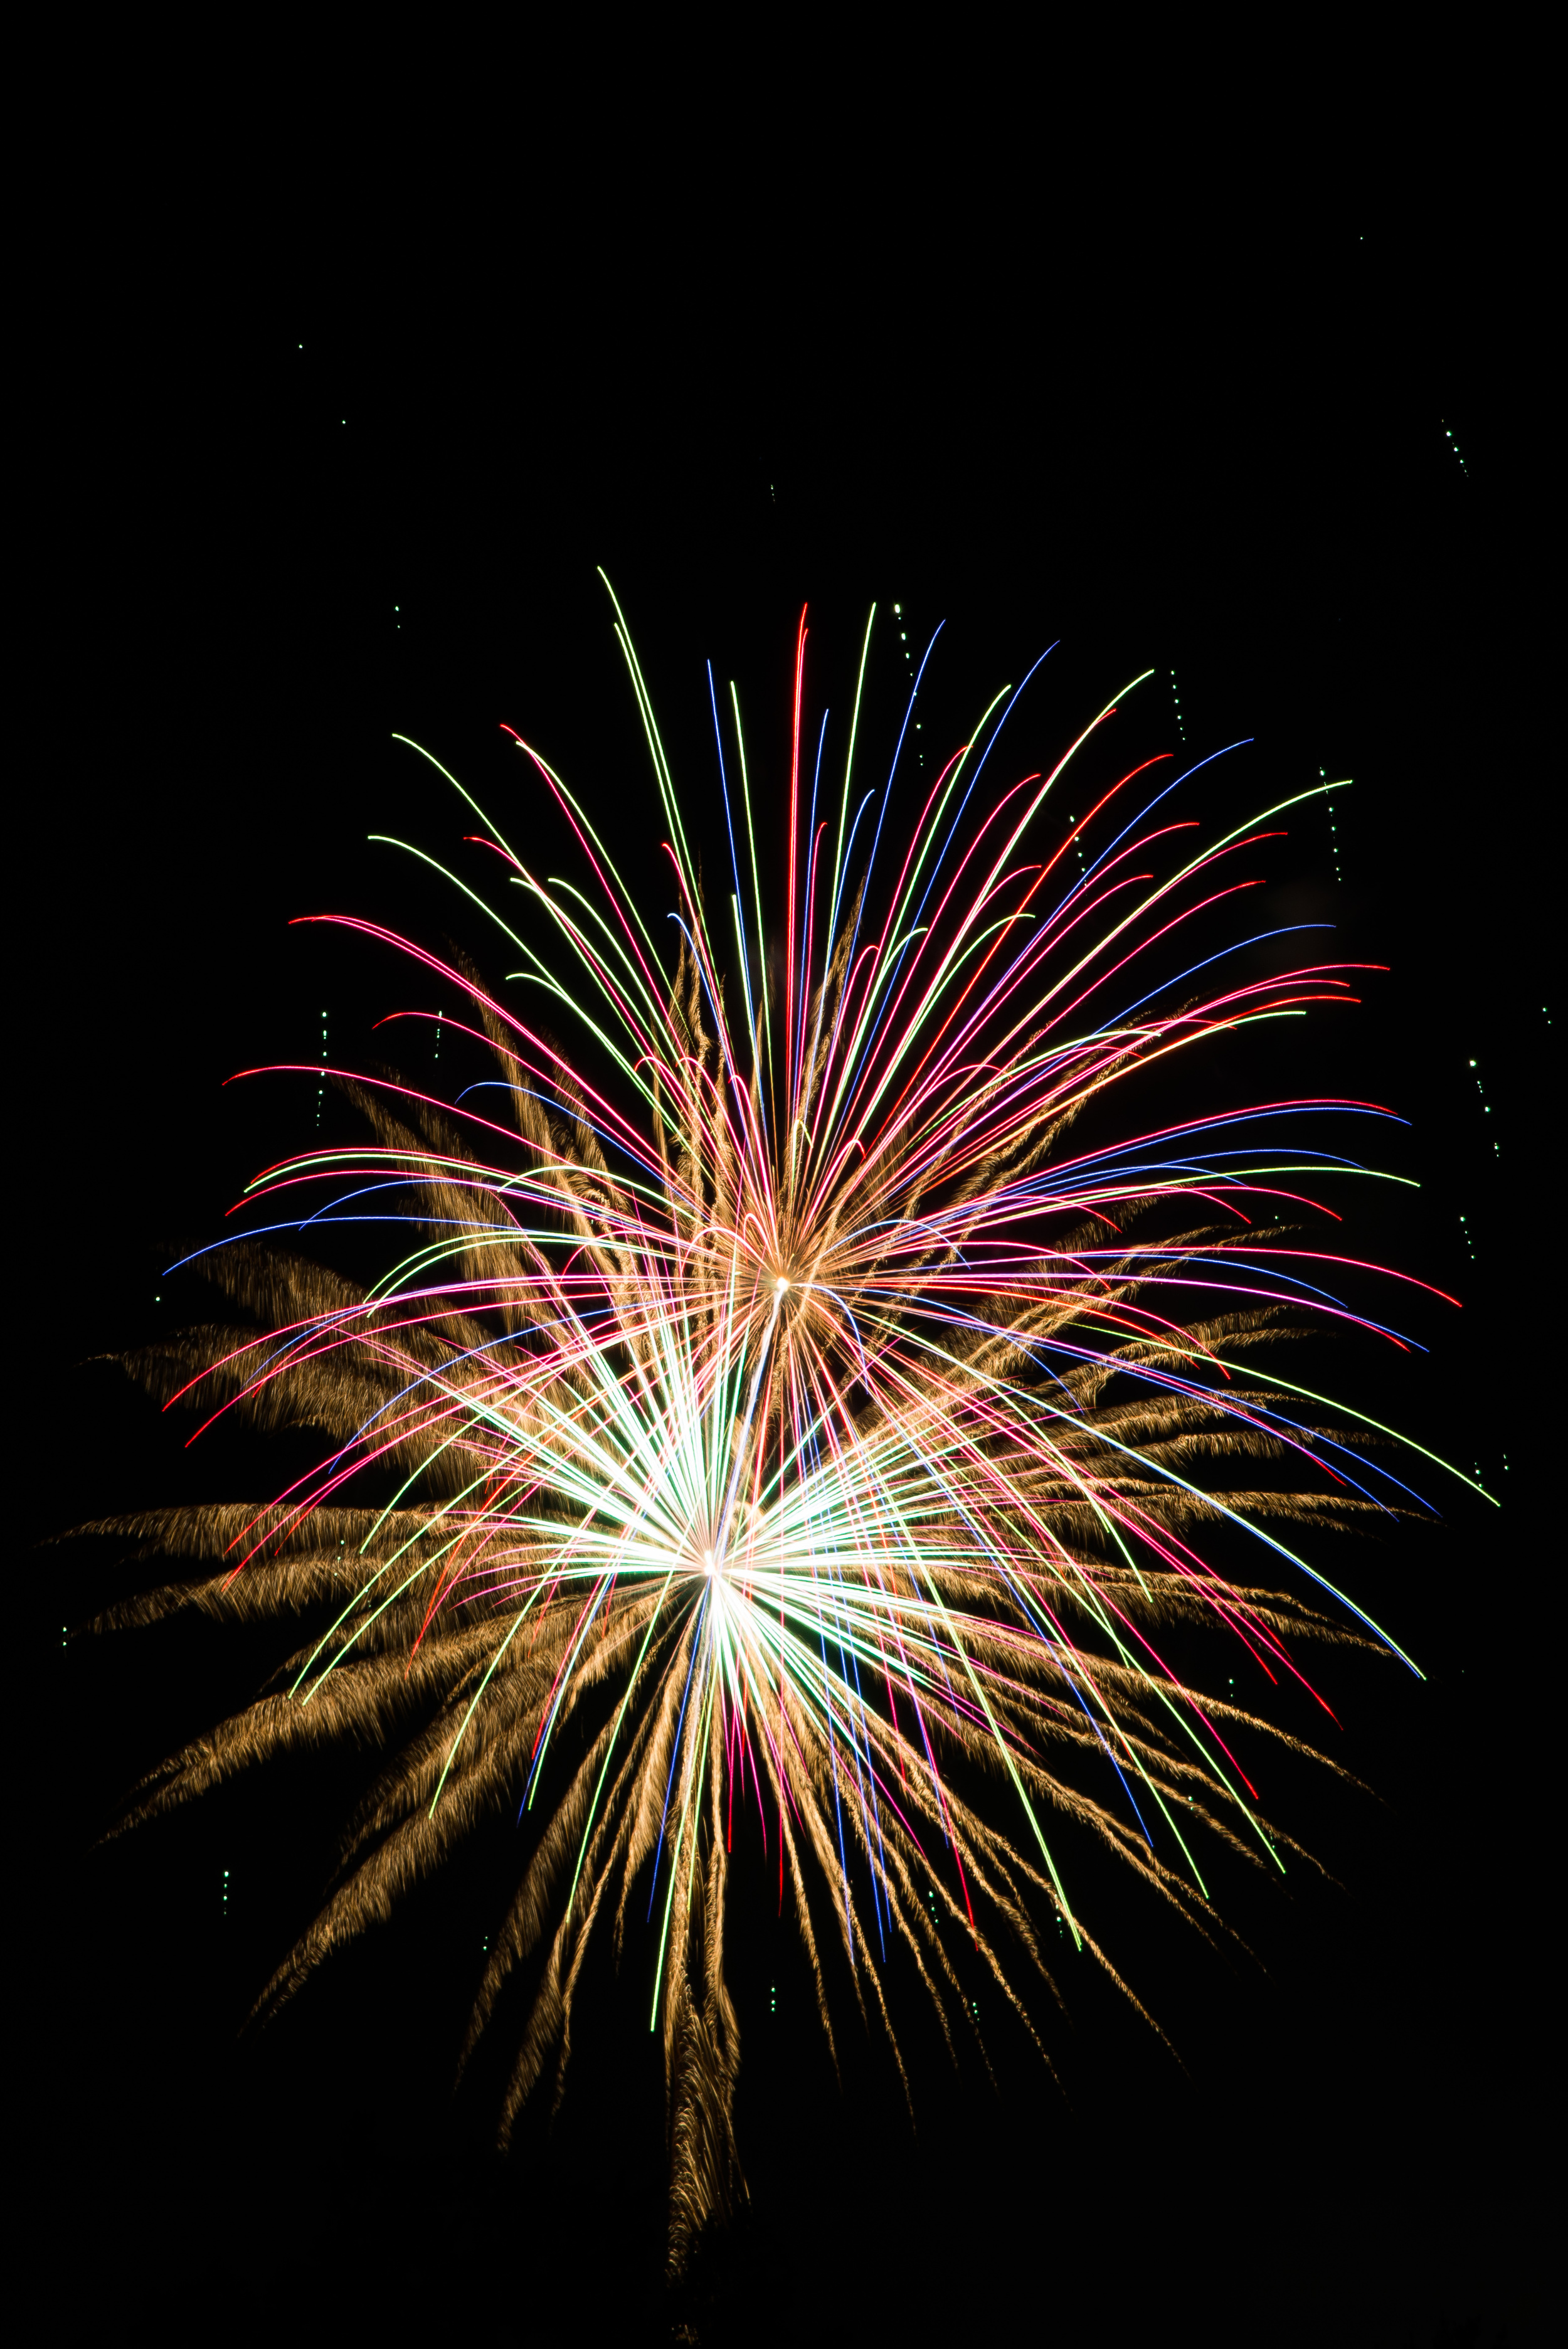
Theoretically, here’s how it works. Since you are taking a picture of a black sky the shutter could stay open in the camera for quite a while as there is little or no light getting in. While the camera is waiting for something to happen in front of it, a firework ascends to the sky and bursts open with marvelous colors streaming through the heavens. Afterwards, you release the shutter, and the camera stops taking a picture. You can leave the shutter open as long as you want, but the longer it's open the noisier things get in the sky. My average was between 4-7 seconds, sometimes quicker during the finale. My camera settings are listed below the image and they never changed throughout the evening, except for shutter speed, which we already covered.
Post processing: In Lightroom make whatever adjustment you would normally when shooting RAW (you do shoot RAW right!) then pay attention to any white clipping. If the highlight warning is lit I use the “whites” slider to correct it. If it’s still clipping I adjust the “highlight” slider down just a fraction until the clipping indicator goes out and then gradually increase the “whites” slider until the warning returns.
One or two tips: Turn off any ISO noise compensation in your camera because you’ll miss pictures waiting for your camera to process images. Better shots happen with less smoke in the air so usually at the beginning of the show. Use the first few explosions to set your focus and then turn off auto focusing. Your depth of field should be fine with apertures 10 and up.
Nikon D800 Tamron 24-70mm f/2.8 @ 70mm f/16 ISO 100 3.6 seconds